How to Setup a Facebook Retargeting Audience
Retargeting allows you to follow anonymous visitors who have visited your website or content in the past, and show them specific ads for the product or service they viewed. (3 min read)
Consumers don't often buy the first product they see in the store. There's a consideration period, and it can take numerous touch-points before the shopper is drawn to their purchasing decision.
Retargeting allows you to follow anonymous visitors who've visited your website or content in the past, and show them specific ads for the product or service they viewed.
There are many benefits to using retargeting audiences over conventional topic- or interest-based audiences. They're more cost-effective, have a greater relevance to the consumer and a higher average click-through rate. This guide will give an overview of how to set up a pixel for a retargeting audience with Facebook Ads.
Goal
Before launching any campaign it's important to identify your goals. What are your key objectives?
Setting objectives for your retargeting campaign allows you to measure the success of your ads, and forms the basis of a reproducible method than can be developed and improved over time.
Campaign objectives can be broadly catagorised into one of three groups: Awareness, Consideration and Conversion.
Create a pixel
Creating the pixel within Facebook Ads manager is fairly straightforward. Go to the Events Manager. Click connect data sources in the sidebar. Select web. Select Facebook pixel. Connect, and name your pixel. Done.
Install your pixel
If you're a Pixel customer this step is easy, simply add your pixel ID within the Pixel dashboard. This will allow you to embed your retargeting pixel in every link you share, even to third-party content!
![]()
Alternatively you can install the code manually on your own website in the form of a javascript snippet. To do so, copy the code Facebook provides and paste it before the closing </head> tag of your website's html source code. Unfortunately with this method you can only retarget those who visit your website.
Check your pixel status
It's good practice to confirm your pixel is firing correctly. Disable any adblock you may be using and visit a page that has your pixel installed. This can be any Pixel short link you create, or any web page containing your code snippet. After a short delay you'll see activity appear in your Events Manager.
![]()
Drive traffic
Now it's time to get the word out! Start sharing your links and content with your audience. Your retargeting audience will grow with every link you share.
One of the transformative benefits of Pixel is you can use it to retarget your audience on third-party sites.
For example, if you find a brilliantly insightful article about avocados that you'd like to share with your Twitter followers. Tweet a Pixel short link, instead directly to the article. Your audience will get to learn about how avocados are a fruit (not a vegetable!). Meanwhile you'll grow a retargeting audience of followers who are interested in fun fruit facts. 🥑
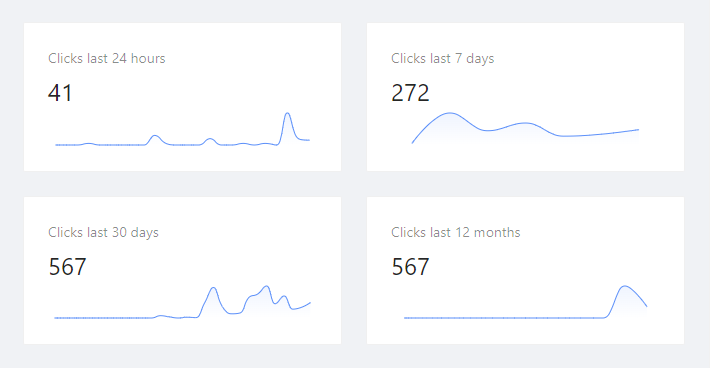
You'll start to see your Pixel dashboard light up with useful metrics too!
Custom audiences
Custom audiences connect the dots in the sense they match your existing audience with people who are on Facebook. You can use various sources to create custom audiences, in this guide we focus on the pixel and customer lists.
Facebook allows the creation of up to 500 custom audiences per account leaving plenty of room for you to segment your audience, create lookalikes and optimize your targeting.
Retarget with a pixel
Widely touted as the most effective retargeting method, pixels allow you to target Facebook users on an individual level. Because you can target only individuals who've expressed interest in your product or service, pixels are very cost efficient.
They're also fast. Once set up, they continue to scale your audience without need for supervision. If you have a targeted campaign running, your visitors will begin to see ads as soon as they've left your website.
To create your pixel custom audience, go to Audiences in the Facebook Ads manager. Create a custom audience, and choose website as your source. Lastly, select the pixel that was created in the previous section. With Pixel you can segment your audience based on which short links they clicked by adjusting the ANY/ALL criteria.
![]()
Retarget with contacts
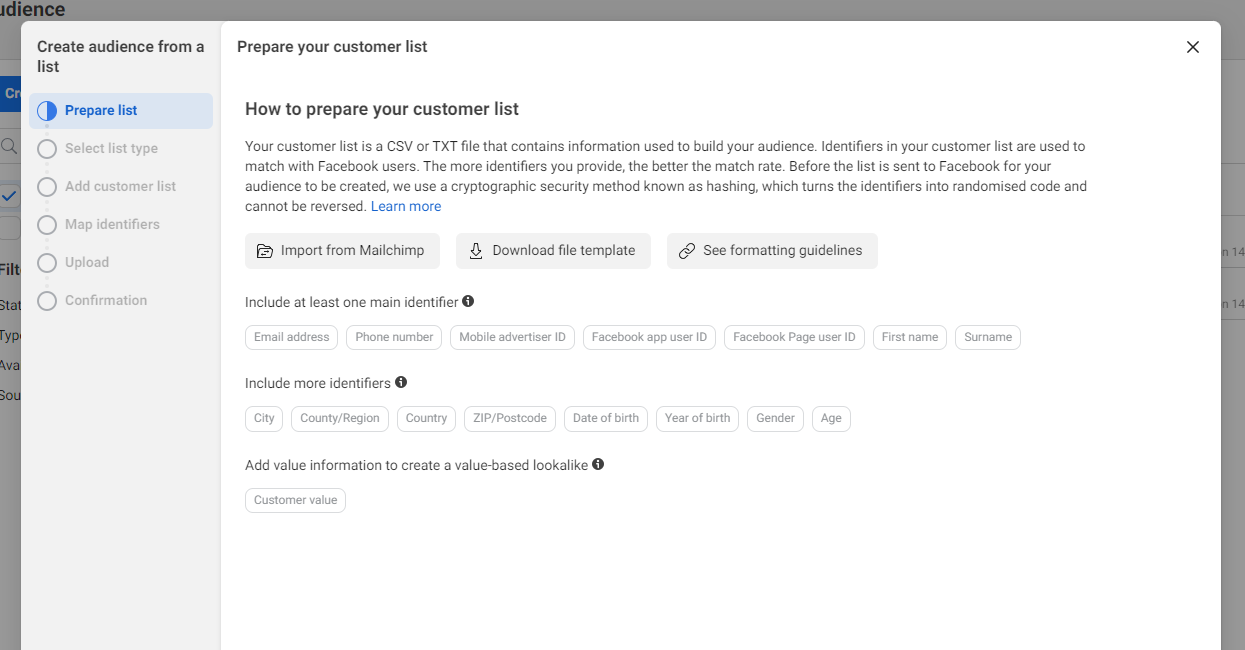
If you have an existing customer list, Facebook allows you to upload that data to match with Facebook profiles who've purchased from you before. Facebook uses probabilistic matching to cross-reference your customers email, name, address, country and other identifiers.
This method does miss some of the discused benefits of pixel retargeting. It is less efficient, less accurate and slower. However customer lists are a good way to catch-up if you have a customer base but haven't used a pixel up until now.
To create your custom audience, go to Audiences in the Facebook Ads manager. Create a custom audience, and choose customers as your source. Upload your customer details in the structure outlined in the formatting guidelines and you're ready to create some targeted ads!
Create a retargeting Ad campaign
In the next guide we'll cover how to use your newly created custom audience to create a powerful ad campaign, and crush your objectives!